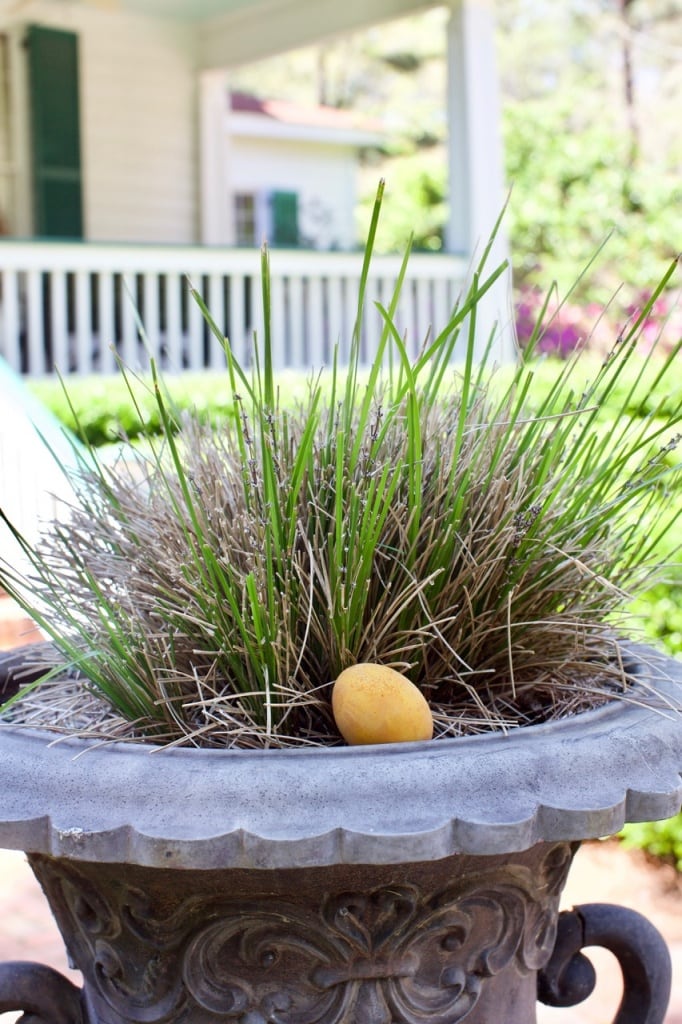
How to Dye Easter Eggs the Natural Way
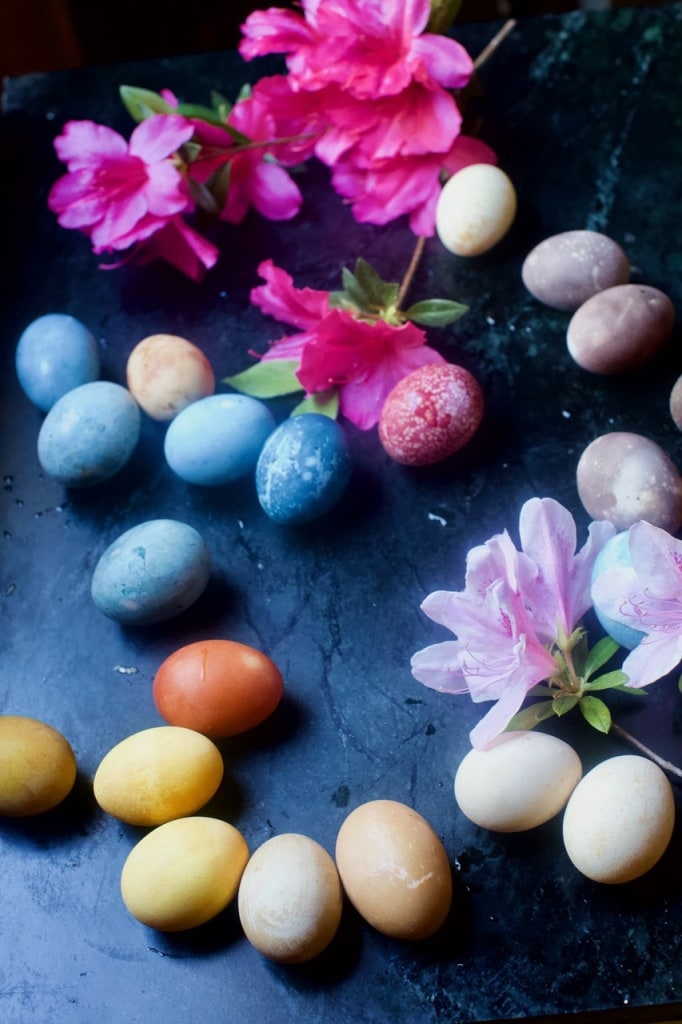
Easter is such a fun time of the year in my family. The snows of winter melt away, beckoning the arrival of spring with all its new life and energy. This the time when, after getting through the cold months, families feel the urge to come together and celebrate life. One of my family’s favorite Easter traditions is coloring and decorating Easter eggs. I was trying to come up with some inexpensive, natural ways of doing that and think I may have succeeded. I’ll share the results with you.
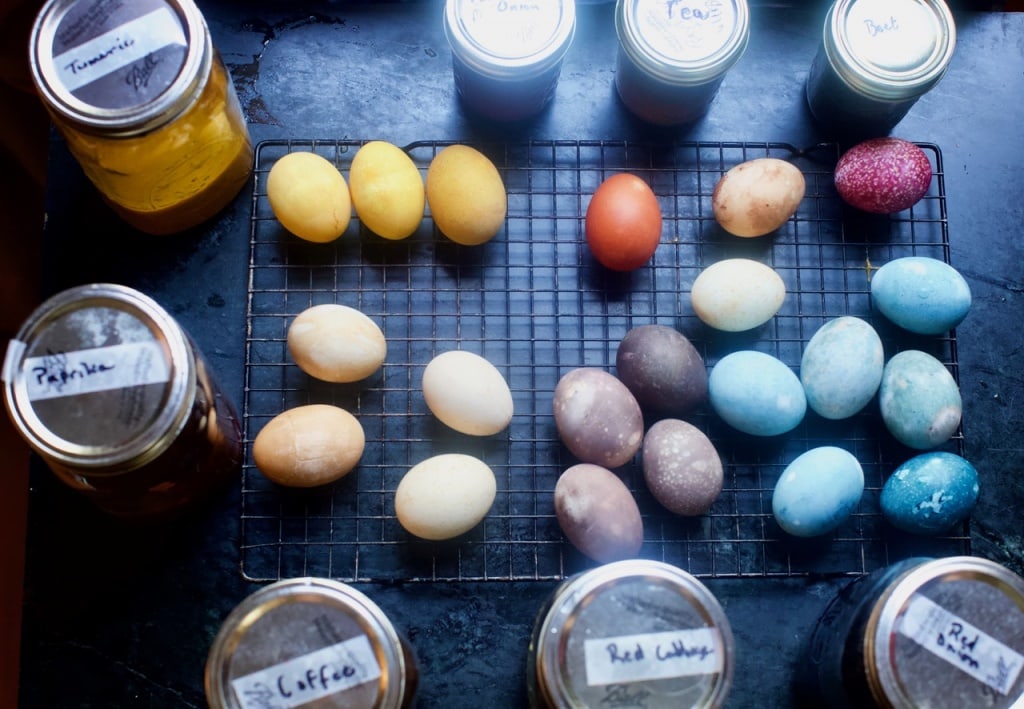
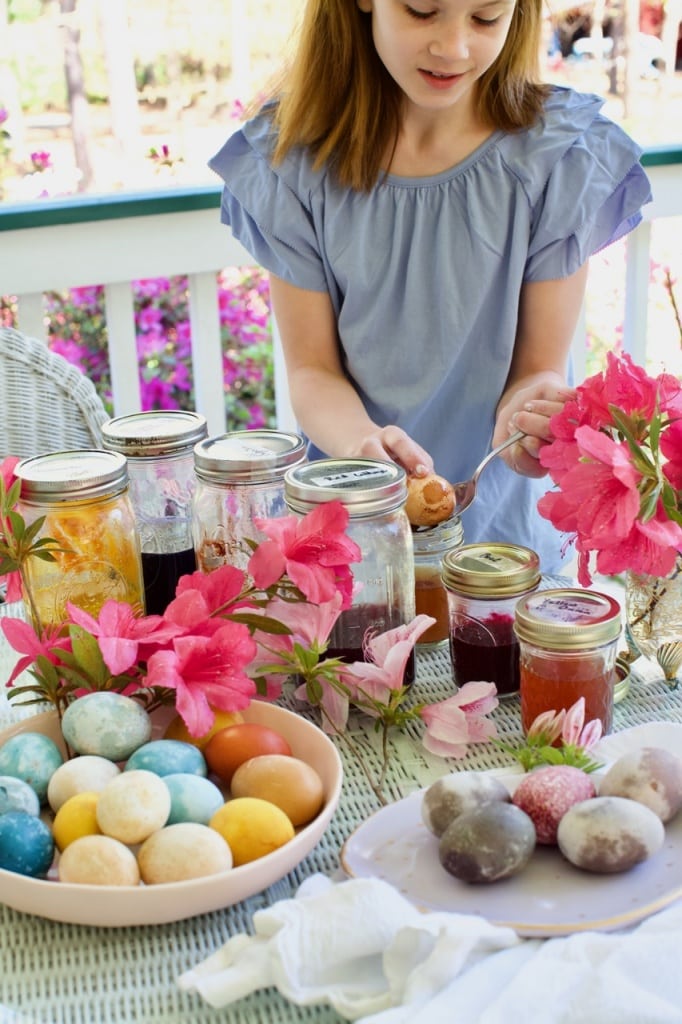
All of the recipes except the turmeric yellow Easter egg contain one cup of water to one cup each ingredient, whether it be yellow onion, red cabbage leaves, tea, red onions, or beets.
Strain the liquid into a mason jar, stir in 2 Tablespoons of vinegar, and store in the refrigerator overnight.
Remove from refrigerator and place eggs in mixture. Let the eggs soak in their jars overnight in the refrigerator, or at least for several hours.
If you want to make more eggs you can use the mixture again the next day. Make sure to store the mixture in the fridge though.
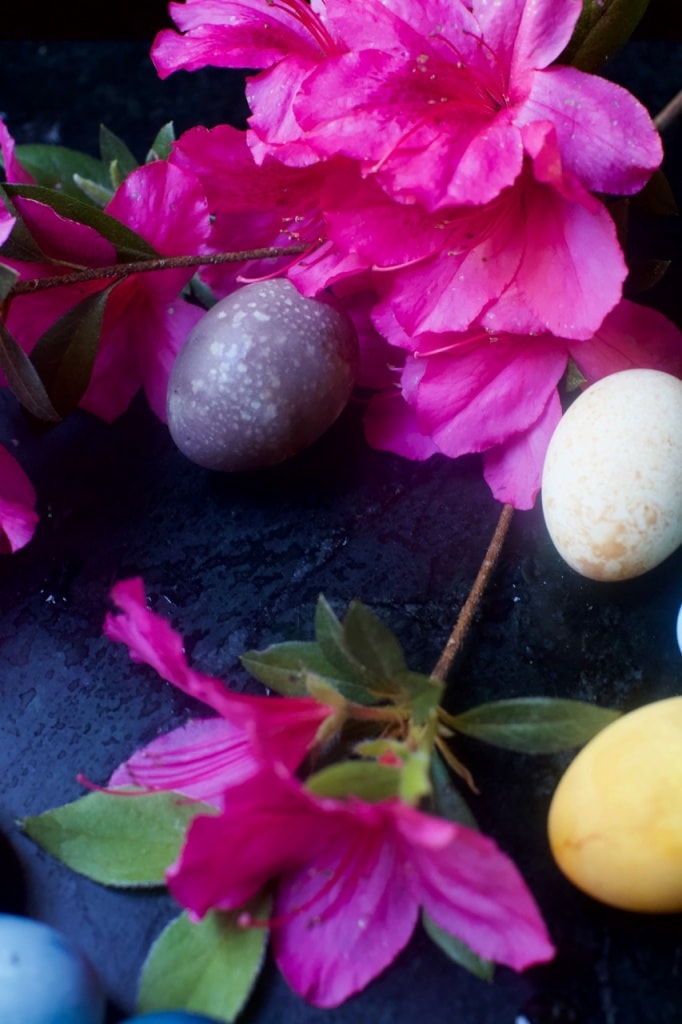
Note: Be careful with the beet color. It will rub off on clothing.
I have a recipe for perfectly boiled eggs in my Harvest Cookbook. You can pick up a copy by following that link. If you end up with extra boiled eggs, you can always use them to make my delicious deviled eggs recipe.


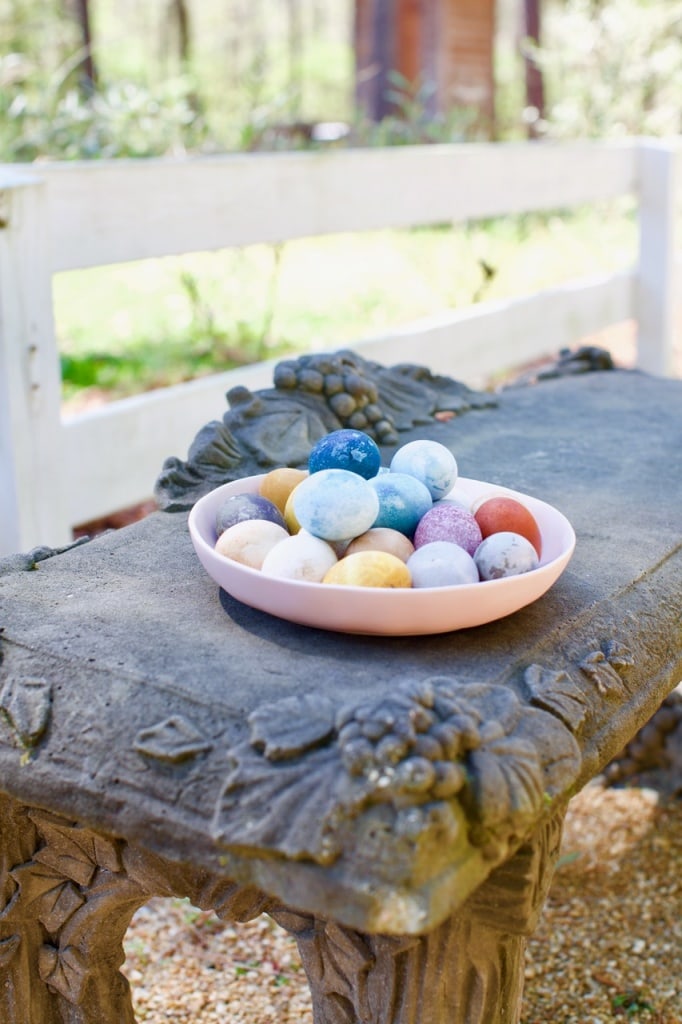

Have a great time dying Easter eggs this year! I would love for you to try these out at home with your families! Be sure to tag me in your photos! I’m @stacylynharris on Instagram.

Naturally Dyed Easter Eggs
Ingredients
- 1 cup yellow onion skins for rusty orange eggs
- 1 cup red cabbage leaves for bluish/purple eggs
- 1 cup red onion skins for light blue eggs
- 1 cup raw beets for pink eggs
- 2 tablespoons instant coffee
- 2 cups prepared tea
- 2 tablespoons turmeric
- 2 tablespoons paprika
- 2 tablespoons vinegar for each ingredient
Instructions
- In a medium-sized pot, boil each ingredient with one cup of water (except tea) for 30 minutes. Boil 2 cups of prepared tea for speckled eggs. Strain the liquid into their own mason jars, then stir in 2 tablespoons of vinegar. Place an egg or a few eggs (if they fit) into each mason jar and store in the refrigerator overnight or at least for a few hours. Remove from refrigerator. With a slotted spoon remove each egg and allow to dry on a cooling rack. Once dry you may want to rinse the eggs if they have a “film” of color on them.
- Note: Those eggs soaked in the beet mixture will rub off onto clothing. The others are pretty stout and you shouldn’t have any trouble once they dry. I usually make more “dye” by using 2 cups of water and doubling the ingredient, for more colored Easter eggs.


Wonderful idea….can’t wait to try this!!
I hope you have so much fun!!